Initial Camber: Stabilzing Wood for Relief Woodcarving
Introduction
Many relief carvers have inquired over the years about stabilizing wood panels for relief carving.
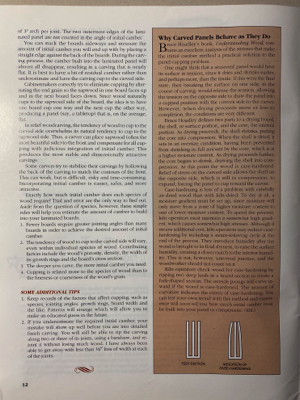
Attached, below, are images of three pages printed in Lee Valley Tools's now defunct “Woodcuts Magazine” some years ago.
I wrote that article titled "Initial Camber: Stabilzing Wood for Relief Woodcarving"
The process of stabilizing relief panels takes place in the lamination stage, when boards are prepared for edge-glueing to each other to attain the desired width of panel.
Any efforts to try to correct cupping of a carved panel aside from controlling it from the start are futile. This includes bracing the panel from the backside, or removing equal amounts of wood from the backside of a carving.
The process outlined in the article is suitable for panels up to 36” wide. After that, the amount of camber needed to stabilize the panel becomes awkward to impose on the wood. After 36" width, carved panels need to be broken down to separate panels of lesser width, and joined together without glue afterwards.
It is possible to achieve very wide relief carvings (for example ‘murals’) by assembling a series or carving panels each of which was constructed of boards laminated with ‘initial camber’.
Keep in mind that assembling boards so that a) all heartwood is to the front, b) all the sapwood is to the front, c) heartwood and sapwood are alternated… will not eliminate the tendancy of wood to cup to the carved side. This is because the reality of ‘case hardening’ of dry wood dominates the stability issues one encounters when carving relief panels.
I hope the article below helps you figure out what you need to do for your carving project.
To view these pages, click on the images below. A new window will open containing this page in full size.
These pages are from Woodcuts Magazine, published years ago by Lee Valley Tools
Images
